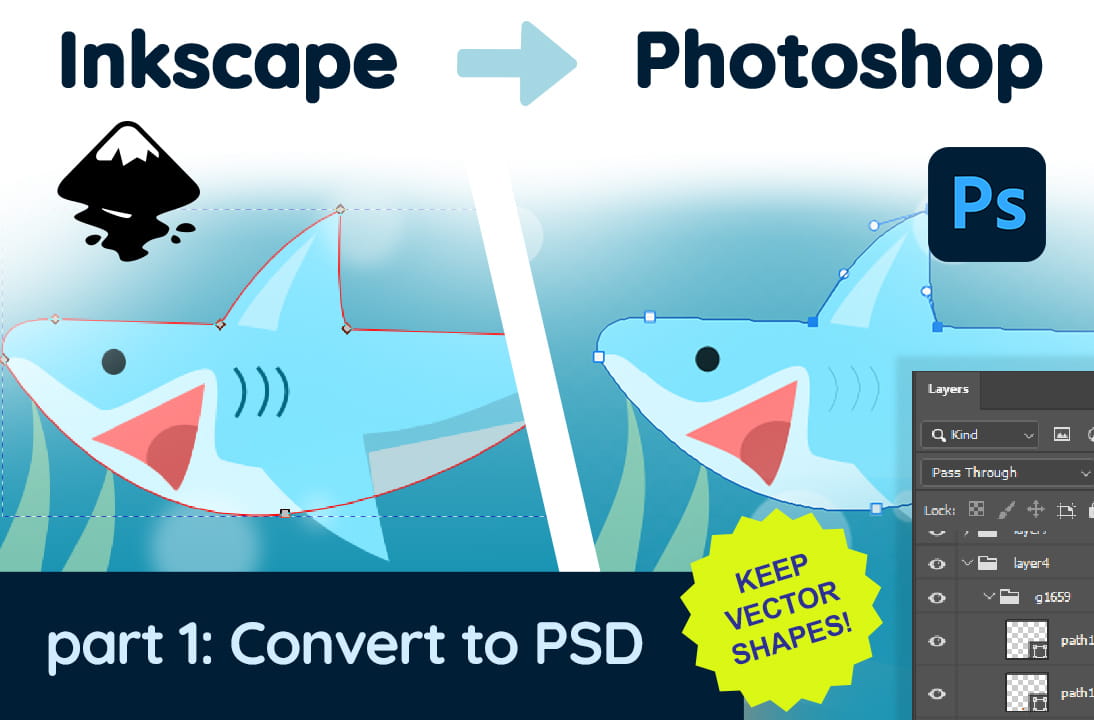
Can Inkscape be a vector companion app to Photoshop? How good is integration? In the first part of this article series, let’s figure out a way to convert Inkscape SVG to editable Photoshop PSD that keeps vector shapes, layers, and other objects. We will use Photopea as the converter, then see the compatibility limitation and also the workaround.
Video Version
This article is also available in video format, with Indonesian language (with English subtitle)
Why Photoshop?
We know that there are many great image editing applications, like Affinity Photo, Gimp, Krita, Corel Photo Paint, etc. Still, Photoshop has been an industry-standard in this area for a long time. So, there’s a high chance in your job that your clients, employer, friends, or co-workers expect a design in PSD format for further processing in Photoshop’s workflow.
Photoshop Vector Capabilities
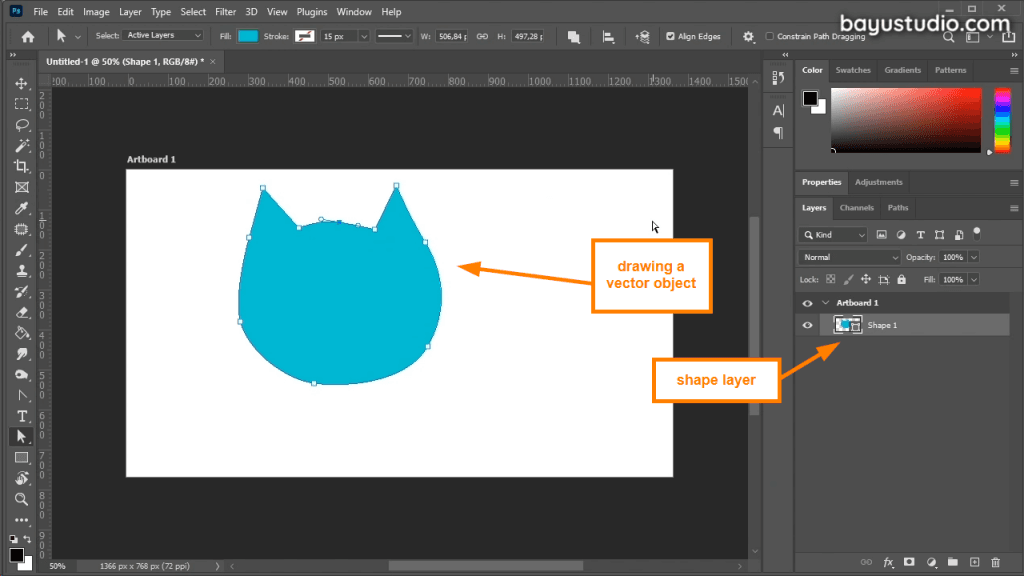
Photoshop, hence, the name is an image editor related to photography and is based on bitmaps or raster. However, current Photoshop is an all-around image editor, that covers a lot of use cases. That includes vectors, even though it’s kind of limited.
In Photoshop we can create a vector object via a shape layer. There are basic tools to create and manipulate vector objects.
Photoshop’s Vector capabilities are of course not as complete as dedicated vector applications. Photoshop’s natural companion for vector design is Adobe Illustrator. Both are from Adobe.

How if we do not have Illustrator? or maybe just prefer Inkscape for a vector editor? We know Inkscape is powerful, but can we get these two apps playing well together?

We will break this topic into several parts. The first part is about converting your Inkscape design to Photoshop (PSD format), while still retain the layer and vector shapes as much as possible, so it’s still editable in Photoshop.
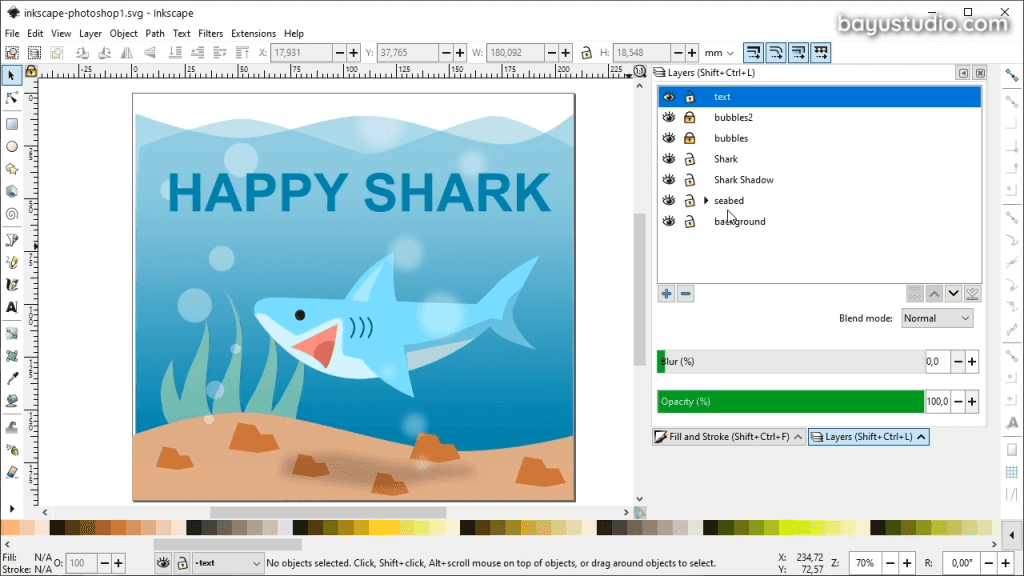
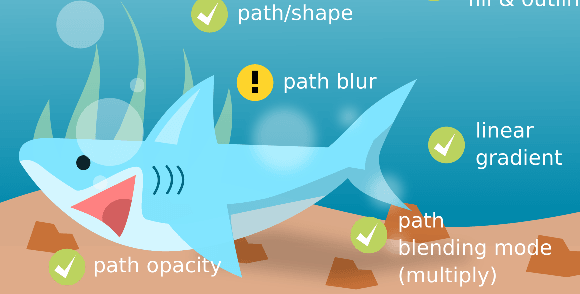
As for example document, here we have the Happy Shark drawing made with Inkscape from one of our video tutorials.
Download the example file here
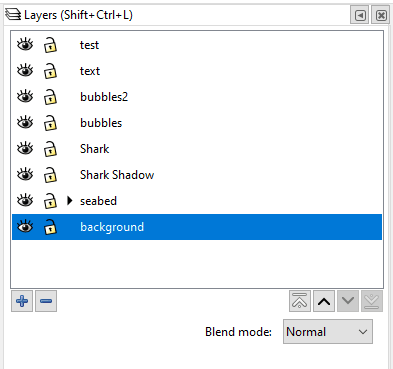
The drawing has several layers. We want to convert this design to Photoshop format, retaining vector shape, layers, text, blending and other features.
Does Photoshop support SVG?
Inkscape uses SVG format. Photoshop supports SVG and able to read it. However, when opening SVG, photoshop will convert our design to a bitmap/raster format. As a result, our drawing is flattened into a single bitmap layer, which is “not editable” anymore. Because all the shapes, layers, and other vector information are gone.

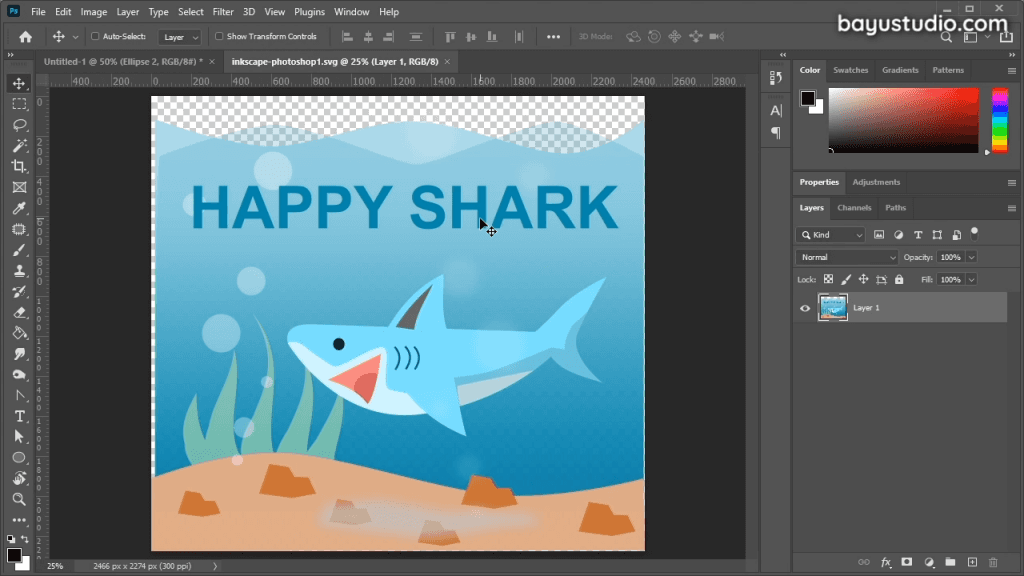
How about another standard format, like EPS or PDF? Can Photoshop open it? From our observations, the treatment is the same as SVG. Rasterized into one layer and “not editable”.
Tools to Convert Inkscape SVG to PSD
We need a way to convert the Inkscape document into PSD? Is there such an app that can do that? Yes, there is. And even better, it’s free.
Photopea can do it.
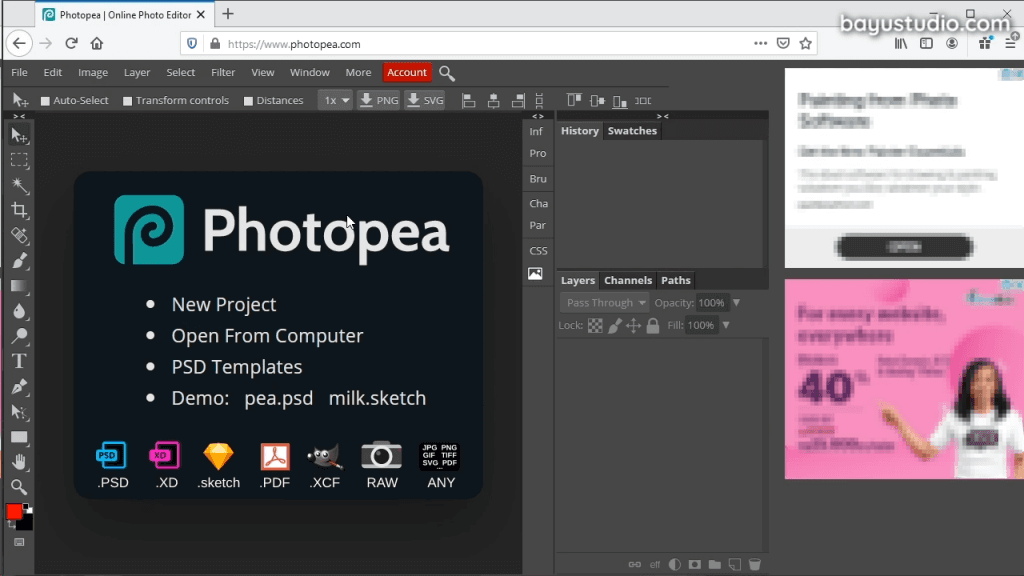
Photopea is an online image editor that feels like a Photoshop clone. Not only the appearance but also the functionality. It supports PSD and can read Inkscape documents as well. Photopea is awesome.
Since it’s an online app, you don’t need to install, just use the browser and type photopea.com.
Photopea understands Inkscape SVG document and able to keep vector shapes, layers & groups, blending mode, text, etc.
Let’s try Photopea
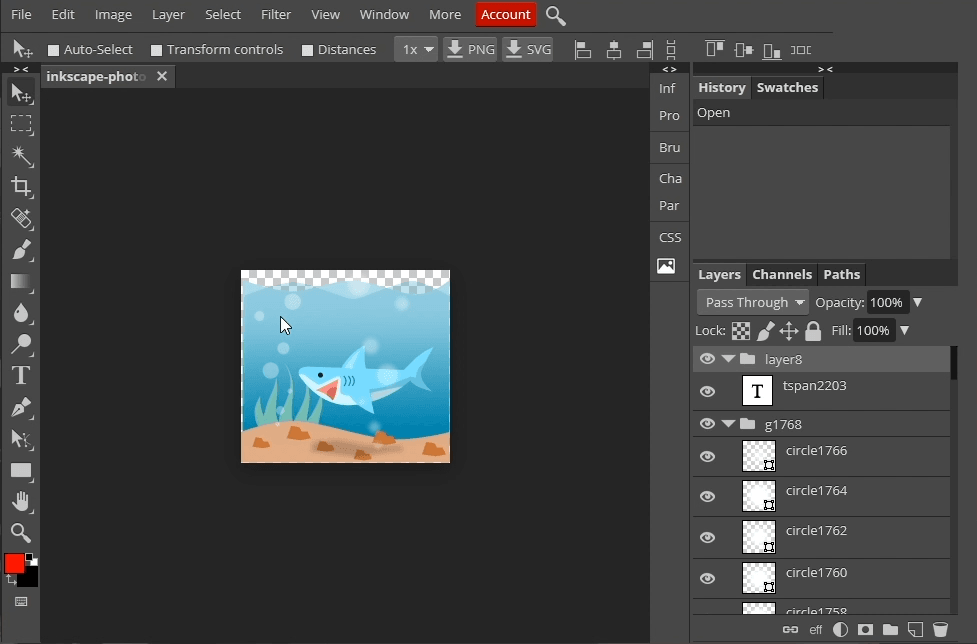
Open the design that we have made in Inkscape.
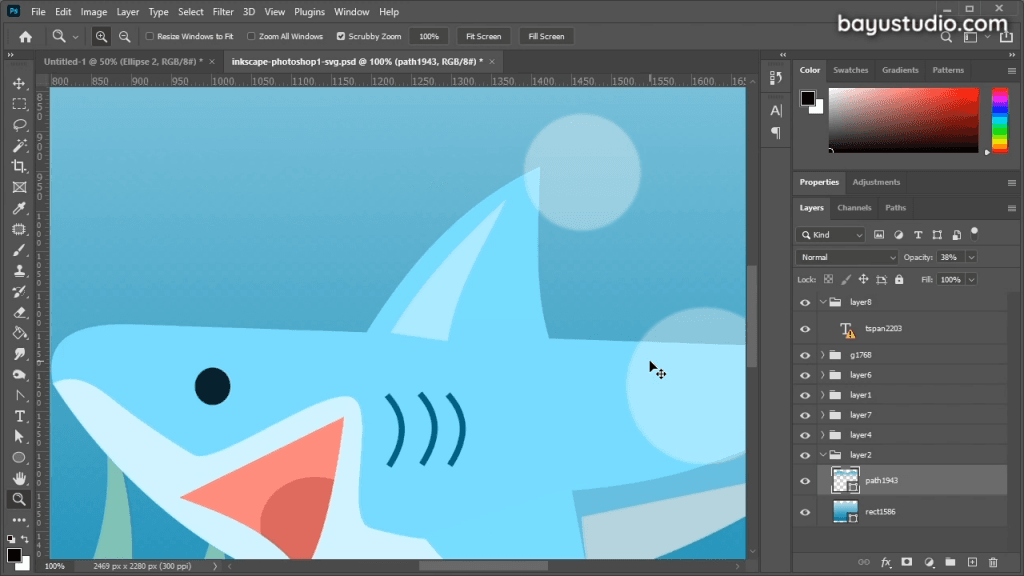
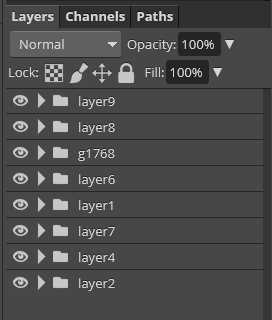
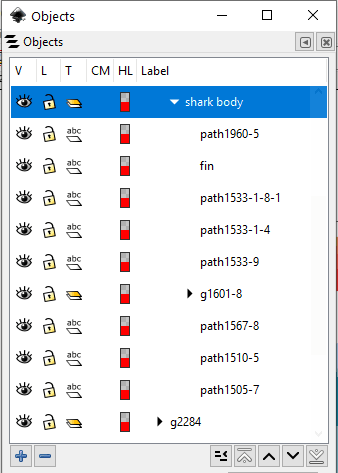
Notice that the layers and the objects are still there! Although the layer naming are changed, at least the layers are retained and the vector path is still editable.
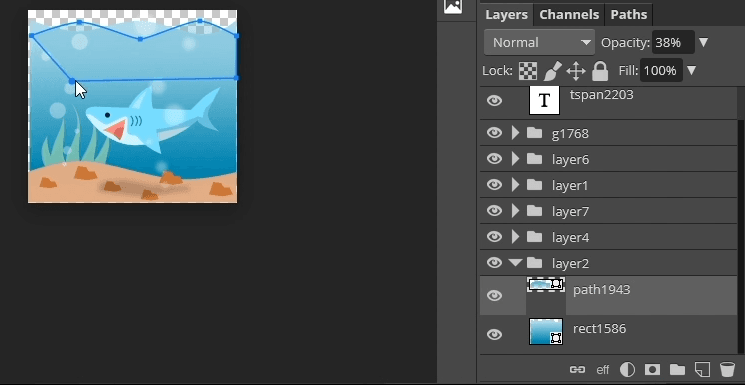
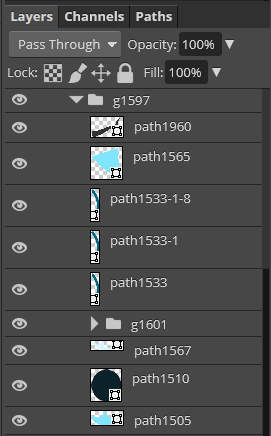
Try it using direct selection tool, we can edit the path, just like in Photoshop.
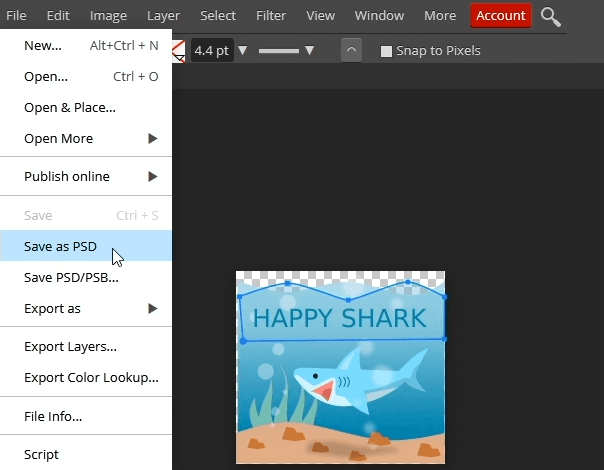
Save it to PSD (File – Save as PSD).
Let’s try open the PSD in Photoshop.
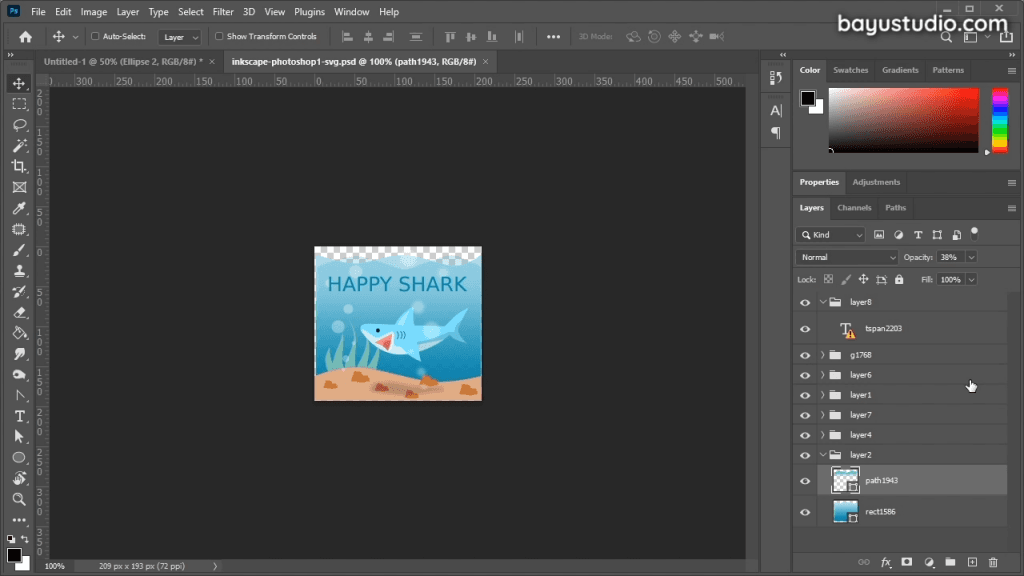
Still working. The PSD document structure is the same as what you see in Photopea. And paths are shape layers and still editable. Cool.
Checking the Limitations
But of course, it is not perfect. There are some caveats. We’ve noticed compatibility problems. Some Inkscape features are broken, and some others are partly working.
This compatibility issue is surely inevitable. We are working with different applications in a different format, after all. So far, we cannot find documentation about the compatibility. So, we did quick & basic experimentation to see what working and whatnot and finding some workaround.
So Here’s the summary
Incorrect Document Size
The Photoshop document is smaller than the Inkscape original document size.
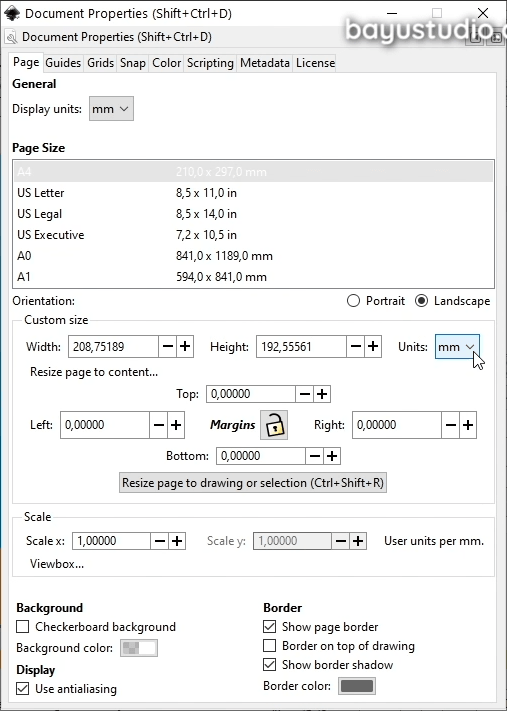
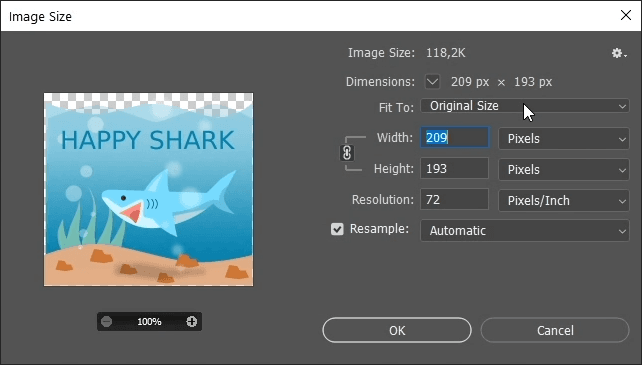
In our document, the default display unit is using mm, 209 mm width, and 193 mm height. While in Photoshop, the size is 209 px width and 193 px height. See It gets changed from mm to pixels.
I tried to change the unit from mm to pixel in the Inkscape side, but still have the same issue.
Workaround
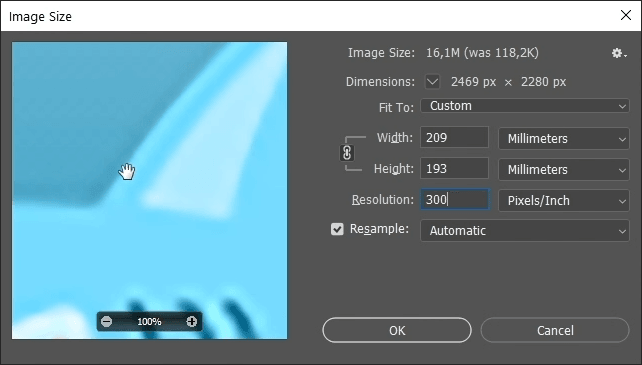
To solve the issue, we can easily resize document in photoshop. For example, lets try change the unit in Photoshop to mm. Make it 209 mm width. with 300 dpi resolution.
In preview It looks blurred, but don’t worry, it will be eventually smooth, because they are vector shapes.
Inkscape Vector Features that are Supported
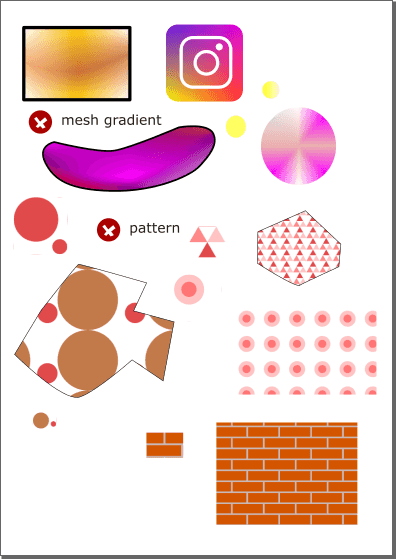
To test compatibility, I’ve prepared we have made a test document utilizing few various features on Inkscape, including advanced ones like mesh gradient, clipping, masking, cloning, etc.
Let’s see how far it can be exported to Photopea and PSD.
It doesn’t cover all Inkscape features. I try the common one for a simple test. Let’s go through it.
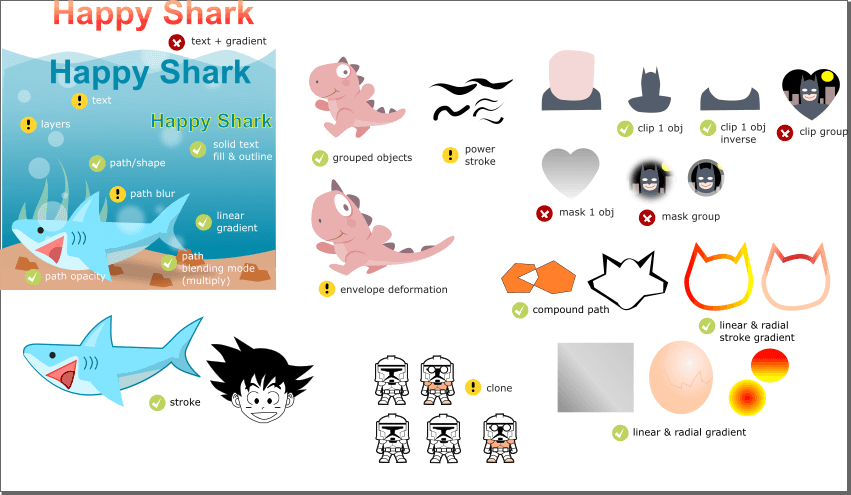
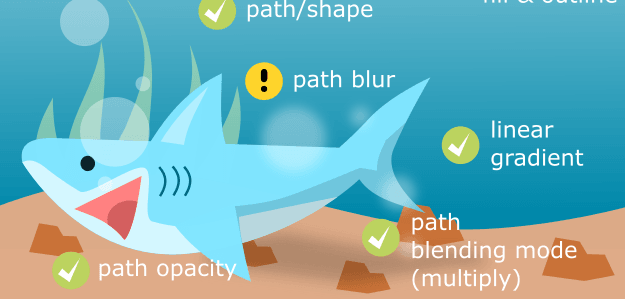
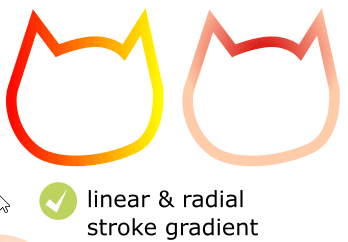
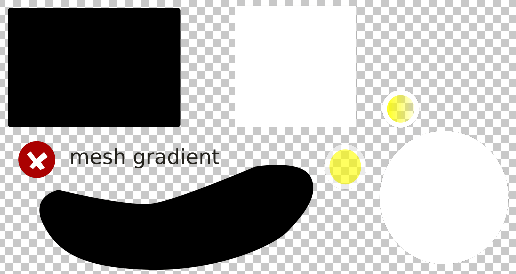
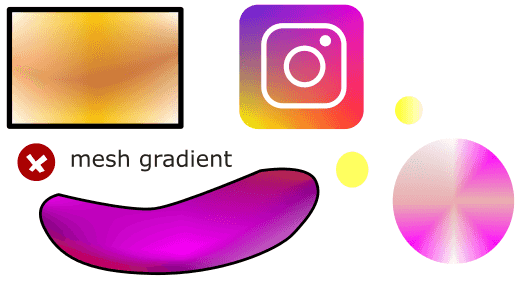
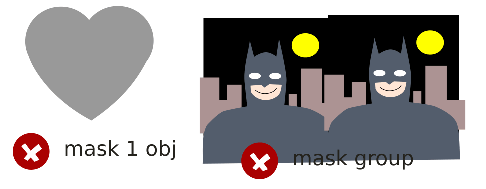
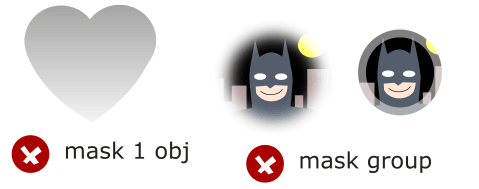
Left is Photopea conversion, right is original. The green tick icon indicates that it works, the yellow icon indicates working with some limitations, and the red one indicates it doesn’t work.
Path/Shapes
Path and shapes are still intact. Solid fill and solid stroke working. We can edit it using the direct selection tool.
Sometimes we got issues with different line width though (after resizing).
Path opacity works (see the bubbles). And it also works for group opacity.
For Path blur, the blur still works. But I have no idea how to edit the blur radius. Because in PSD we can only edit color and opacity?
Path blending mode, I only tried multiply, and it works. I guess another common blending more is fine too.
Layers
Top-level layers are working, but the name changes. In our Inkscape document, there are named layers like background, seabed layer, shark layer, bubble, etc. In Photopea, it changed to a generic naming layer1, layer2, and sometimes named with group id.
So, need rename the layers to make them clean.
Group
Inkscape grouping is converted into layers grouping. Neat. See an example of shark body layer above. group and sub-group become layer and sub-layer. The group hierarchy is identical compared to Inkscape.
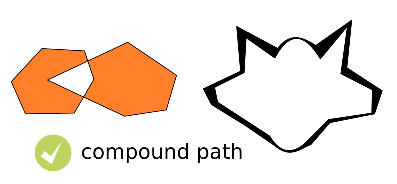
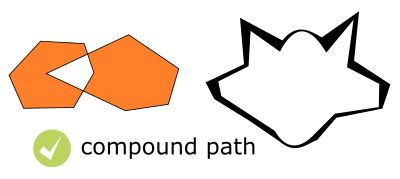
Compound Path
Compound paths is working and editable.
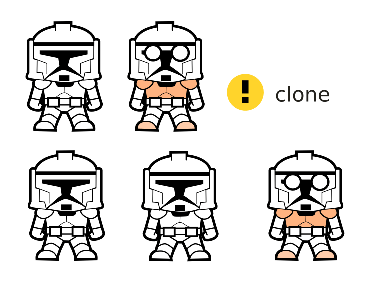
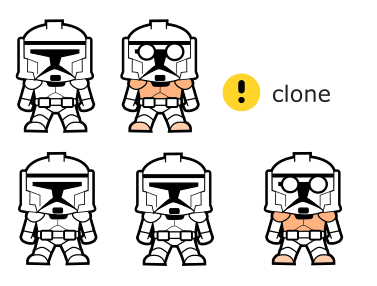
Clone
It gets cloned but the results are separate objects. So the cloned objects are being duplicated and become independent objects.
Gradients
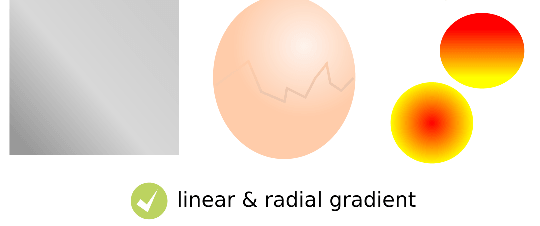
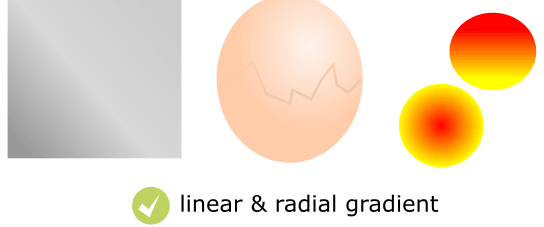
And for gradient, it works for both linear and radial gradients.
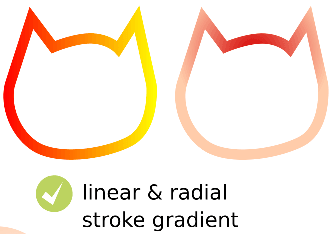
line gradient is working too.
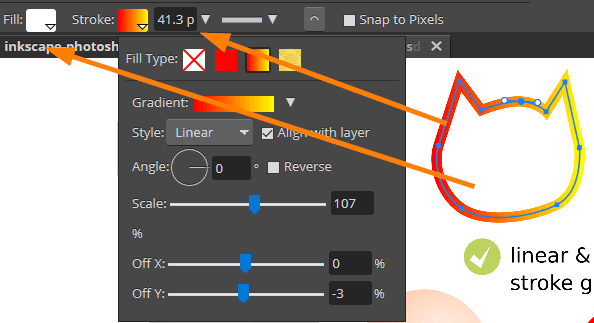
Fill and stroke color is editable just like regular vector shapes.
Mesh Gradient
Mesh gradient is a special Inkscape-specific feature and I don’t expect it to be working here. And yeah doesn’t work.
Clipping
Clipping a single path is working. inverse too. The left image is the initial state (before clipping). Clipping on the group is not working.
In PSD, The clip path is also editable, Just as expected.
Masking
For masking, it doesn’t work at all. Both on single path and on group.
Path Effects
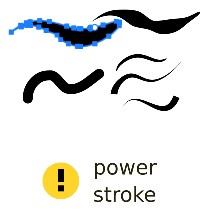
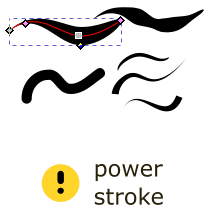
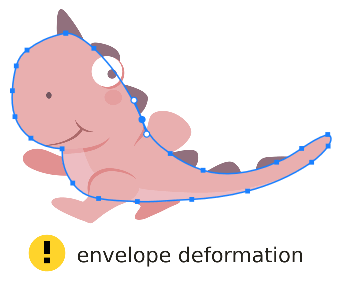
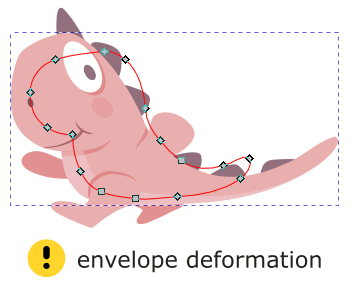
I only tried power stroke and envelope deformation. Path effects are Inkscape’s special non-destructive operation, and of course, we don’t have that in Photopea, but Photopea does a great job it converting it to a group of regular shapes. We get the same drawing.
The power stroke effect is Inkscape specific, is converted nicely, however it changes into a regular path, obviously. We get the same shape as in the Inkscape, which is cool.
Other path effects, like envelope deformation, Exactly the same drawing. Haven’t tried another path effect but I guess the result will be similar.
Text & Fonts
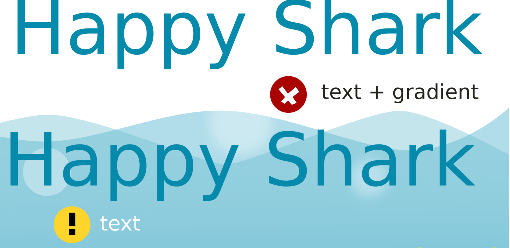
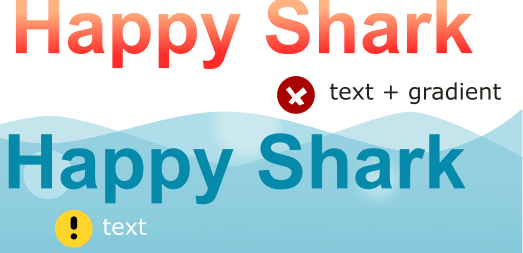
Text is still working as an editable text layer. However, the font gets changed. Font weight supposed to be bold, but in Photopea it’s not bold.
Missing Fonts Issue
Even though I only use Arial, I got a missing font warning. Not sure why, but we can replace it back to proper font since it’s an editable text layer.
Solid text color is working, gradient text color is not.
Text outline, works, but the thickness is different, maybe this is related to the document size issue (we enlarged it in Photopea, right).
Text outline is implemented as layer effect stroke, which is cool.
Patterns
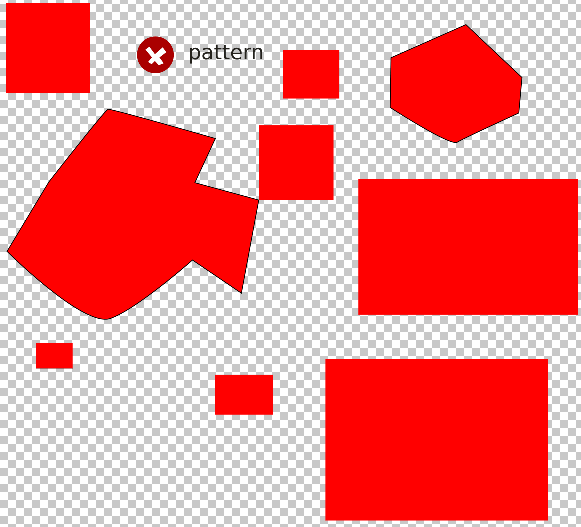
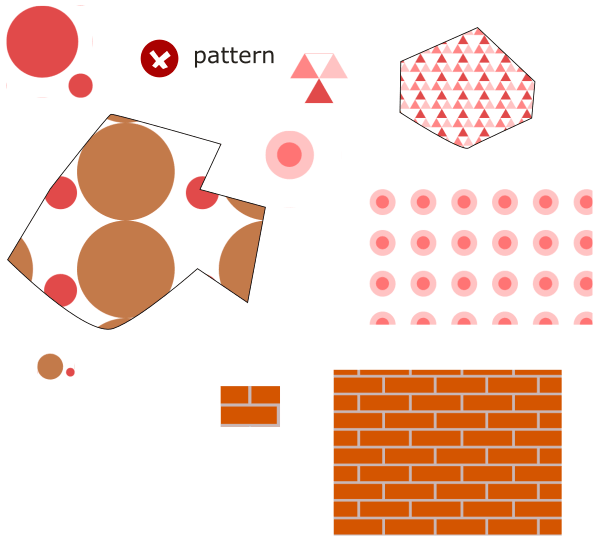
Pattern doesn’t work. It becomes solid fill objects.
Ok lets summarize it as table for quick reference
| Path/shape | Works for solid fill & stroke (sometime has line width issue) |
| Path opacity | Works |
| Path blur | Works, but blur radius doesn’t seem editable, and has issue when the document is resized. |
| Path blending mode | Works (tested for multiply only) |
| Clone | Works. Clones are created as independent separated objects |
| Layers | Works, but the name changed to generic naming like layer1, layer2, layer3, etc. |
| Gradient | Works for linear & radial gradient, fill and stroke. Not working for mesh gradient. |
| Compound paths | Works |
| Fill pattern | Doesn’t work |
| Clip | Works for single path Doesn’t work for grouped object |
| Masking | Doesn’t work |
| Path effects | We only tried Powerstroke and Envelope deformation. They Work and changed to a regular path. |
| Group | Works and become layer group |
Broken PSD Issue
There’s one more limitation more. Sometimes the PSD output from Photopea can’t be opened in Photoshop.
There’s a “program error” warning.
The error is not informative at all, and I haven’t got a chance to investigate what might be causing it, but most likely happens when we use complex SVG features.
So although the document can be opened in Photopea, You have to make sure that generated Photopea PSD can be opened in Photoshop too.
Solving Compatibility Issue
So with this limitation, you need to do some adjustment when converting Inkscape format to Photoshop. Either you need to simplify your Inkscape design or edit the PSD output.
So the workflow is
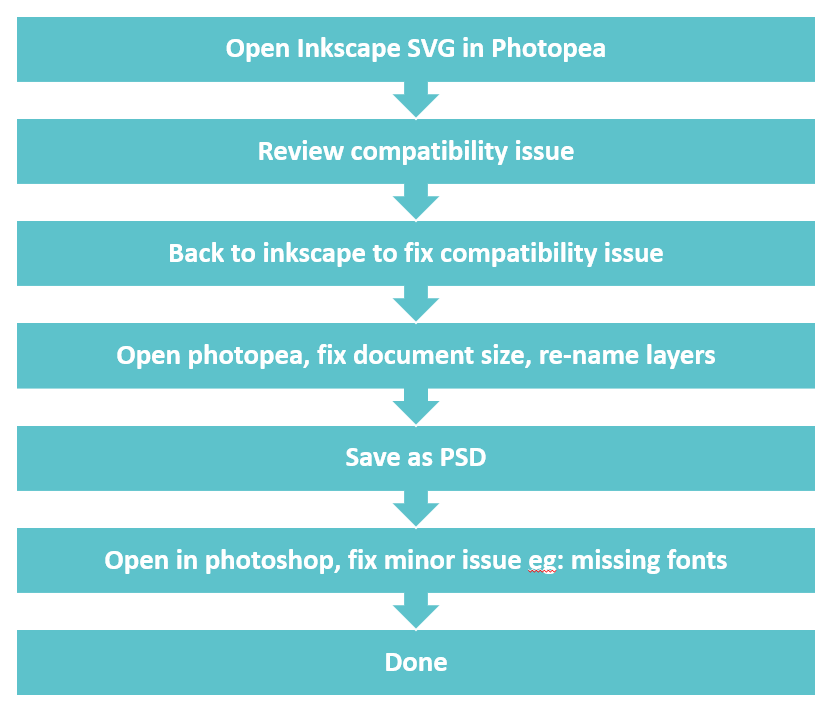
- Open the Inkscape SVG on Photopea
- Then check if anything has changed and if there’s a compatibility issue. For example masking, or clipping group.
- If we found something that doesn’t work, go back to Inkscape and fix the issue, by simplifying our design or removing the unsupported part.
- Then open the document on Photopea again. If the conversion result goes well, rename layers and fix document size.
- Then save to PSD.
- After that, don’t forget to open the document in Photoshop. In Photoshop, you may still need to do some adjustment (for example missing fonts issue)
So that was a glimpse of Inkscape to Photopea compatibility.
I’d say It’s not bad at all and I’m impressed. The limitations are acceptable. Photopea is so cool and very helpful with the conversion. Due to The Fact That even Photoshop can’t do this.
Maybe in the future, the Inkscape compatibility will be better, as Photopea is constantly developed.
That’s all for now. In the next article, we will try to integrate Inkscape and Photoshop by importing Inkscape images directly to Photoshop as a smart object.
So, stay tuned.
